You are using an out of date browser. It may not display this or other websites correctly.
You should upgrade or use an alternative browser.
You should upgrade or use an alternative browser.
Flat Object ---> 3D Box in PS or Ai CS3 how please?
- Thread starter STU9000
- Start date


No - where did you read "copy and paste into the sides of it"?
You need each panel as a separate object in Illustrator. Illustrator Help | Clipping masks
You make each object a "Symbol" Adobe Illustrator * Symbols
Then in the 3D Object dialog box -
You select "Map Art"
Then you go to each side of the Object and Apply the different symbols.
How To Map Artwork onto 3D Objects with Illustrator | CreativePro.com
I just took the front part and extruded it, but I can't work out how much depth to give it. It defaults to 50 pt. What units are pt?
I worked out what the width should be in pixels but obviously pt isn't pixels as it was too long then. It's also not percent.
If working in 72 DPI then 50pt would be 1.76mm
Millimeters to Points (Computer) Conversion Calculator
Or to speed things up
You can always type in any unit into the Depth field
i.e., 500mm and it converts to points automatically.
You can always type in any unit into the Depth field
i.e., 500mm and it converts to points automatically.
Well it wouldn't say anything about clipping masks - as it isn't required most of the time.
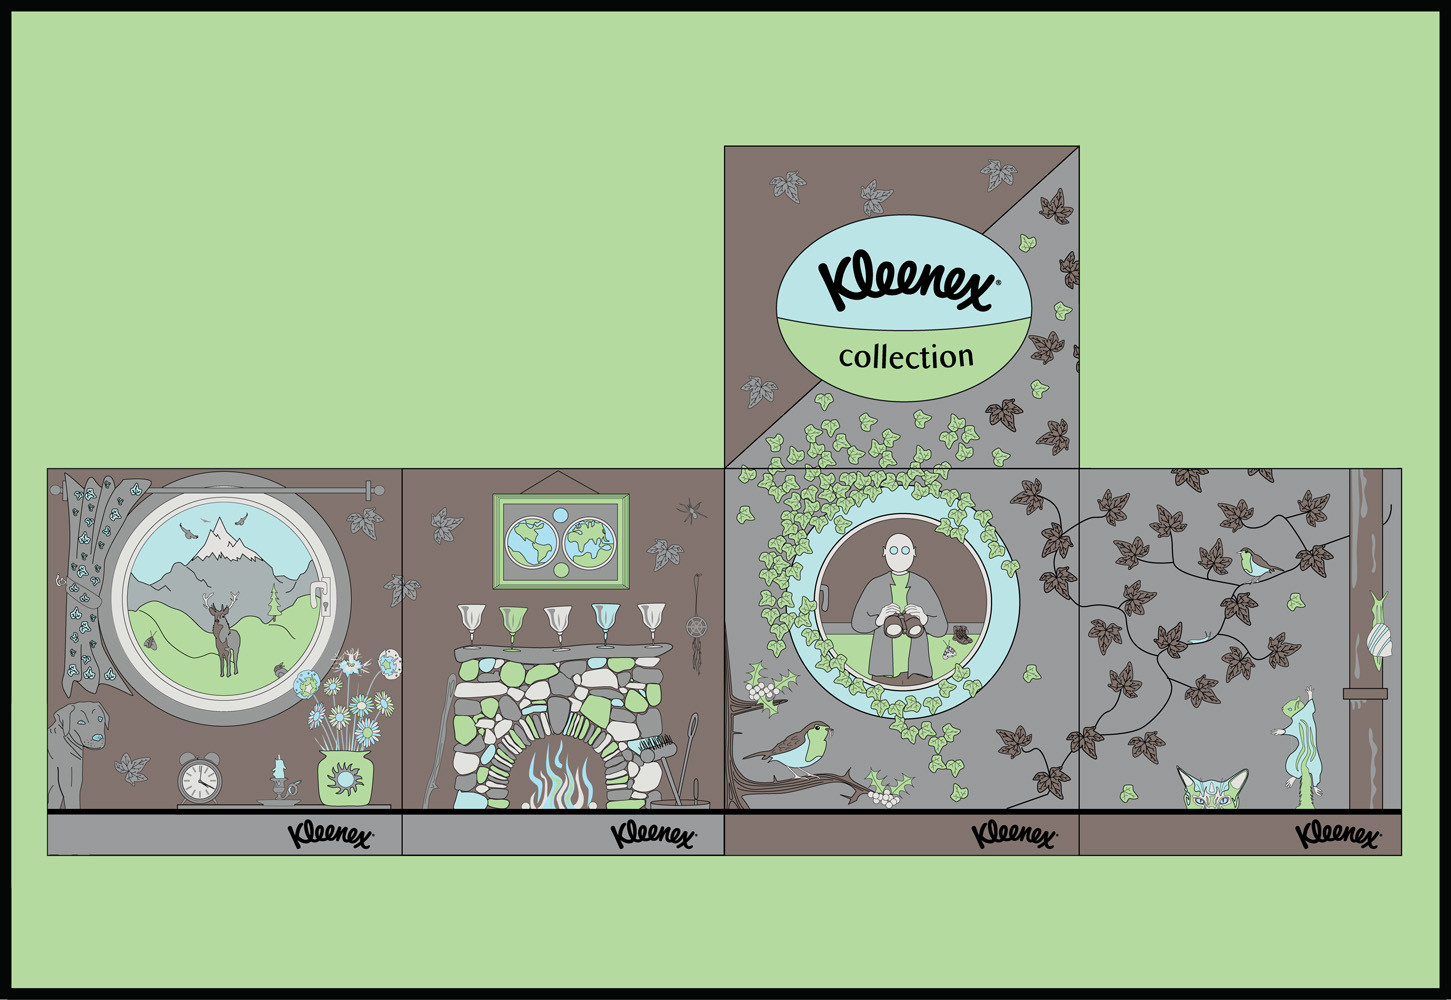
Seems that you have a flat piece of artwork in the shape of a packaging net. - so you need to make a Clipping Mask for each side.
Unless you have the files as individual panels.
You need to have each panel of the packaging net as an individual object.
Make a symbol for each side.
Apply the symbol when mapping the art in the 3D.
Just trying to give you step by step.
Hope it helps.
STU9000
Member
If working in 72 DPI then 50pt would be 1.76mm
Millimeters to Points (Computer) Conversion Calculator
Is a pt the same as a pixel then?
I tried to work it out as it was showing up my clipping masks as pixels, so I changed it to point and everything was the same value.
It has 16 sides because you have the cap on (it's beside the extrude)
Turn the Cap Off and it will have 12 sides.
Turn off the Stroke on the object (just have a fill) it will have 6 sides
1 = Front
2= Top
3= right
4 = left
5 = back
6 = Bottom
or something like that
You will need to rotate the left right bottom and back - you'll see when you start applying artwork.
Turn the Cap Off and it will have 12 sides.
Turn off the Stroke on the object (just have a fill) it will have 6 sides
1 = Front
2= Top
3= right
4 = left
5 = back
6 = Bottom
or something like that
You will need to rotate the left right bottom and back - you'll see when you start applying artwork.
STU9000
Member
Just about there. having a real problem with clips not dragging into the areas though in map art, is that a bug or because I need to increase my document area? Sometimes i can't get it to drag near to the area, other times it will go to within a cm of the edges and if i try to move it it just keeps snapping back????
Had to rotate some by 90 degrees as well?
No snap option?
Had to rotate some by 90 degrees as well?
No snap option?
Last edited: