I'm going to use a Calendar as a way of showing a few useful features I found out - and some suggestions.
Firstly, dragging out a table is great! Select the Table icon in the tool bar, select the Snapping tool to get it to snap to the margins, and simply Drag Out the table - you will see it gives dimensions - rows and column counts too! Pretty cool!
There are only a few modifier keys available. A modifier key is when you are using the mouse to move/alter something and press a key on the keyboard to get it to behave a different way.

For this calendar - I only want the First 3 rows to appear. Month - Days - Dates
I draw out the table and let go of the mouse and low and behold - I have 7 (that was lucky) columns and 3 rows, as I only dragged down that far.

The added feature that's pretty cool!
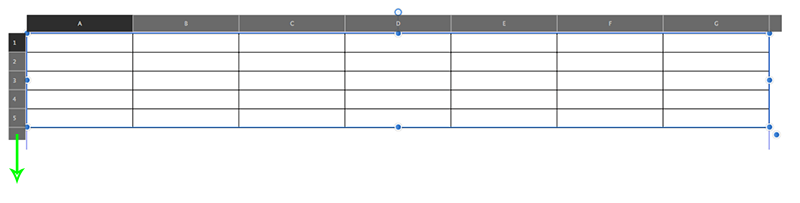
With the Table tool still selected - you can drag down the table from the tab as indicated. Or similarly - on the right hand side, grab the tab and drag to add more columns!
You can slide them up and down or left and rigth until you have the desired amount of columns or rows.

However, once you have made your decision - you cannot remove the rows/columns by dragging them back up. I presume this is to prevent deleting information accidentally, however, if the cells are empty I don't see why this can't be done

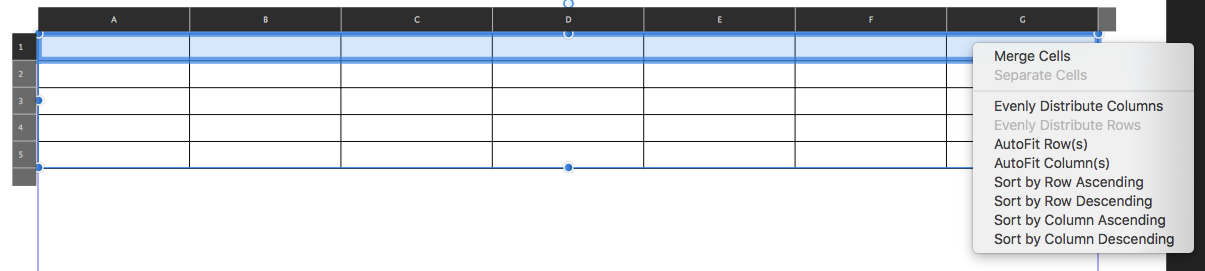
If you want to remove the column/row you can select it and right click and choose Delete Row
However if you have more than one row/column selected you cannot choose to Delete Rows!
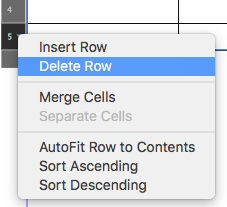 No option to Delete Rows
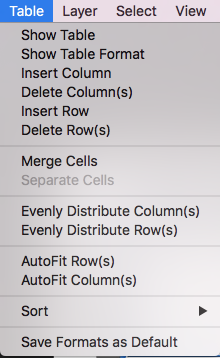
To delete more than one Row/Column you have to use the Table menu and choose "Delete Rows" or "Delete Columns"

Onto the calendar!
Select the top row and right click and choose Merge Cells

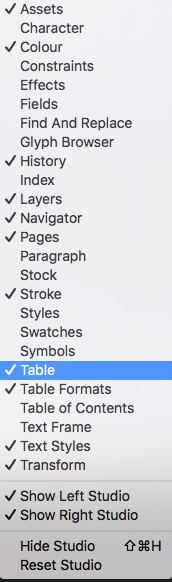
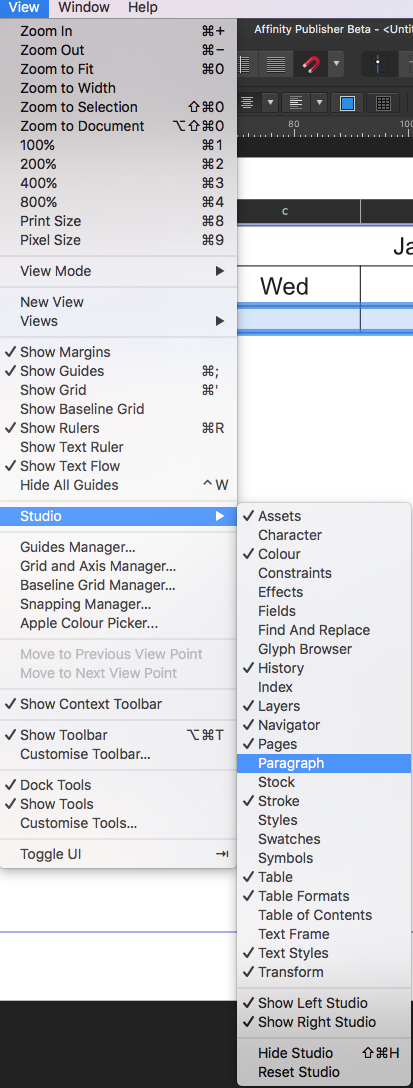
View>Studio>Table (I believe this menu and sub menus are subject to change)

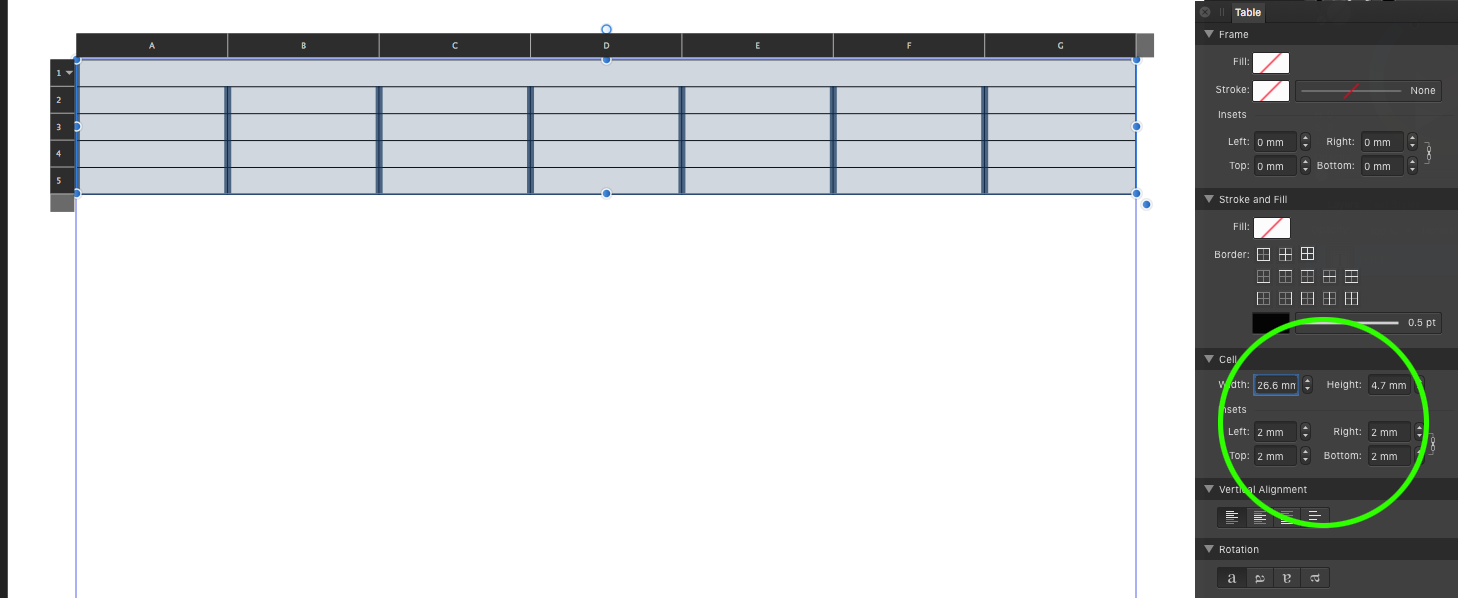
Select your table and add some "Insets" so the text doesn't butt up against the cell wall - this is optional and you can adjust to how you like.
Very important to ensure you're on the CELLS portion - there is an option for the FRAME - which is above in the screenshot of the Table Panel, this is relating to the Frame the table sits in and not the Table Properties.
That's a bit confusing becuase you'd expect the Table options to the forefront of the options, however, not a major issue!
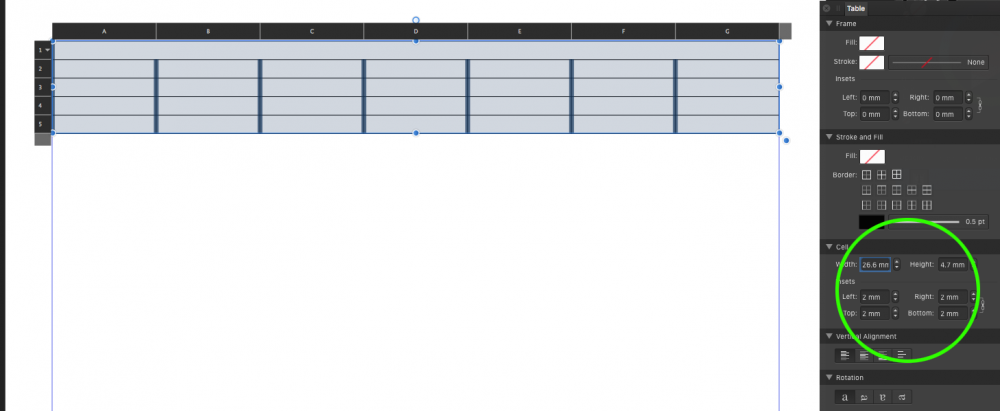
In fact it's all optional - I'm leaving mine plain because I want to show another feature.
Insert the Month top row - days on the 2nd row - and leave the 3rd row blank.
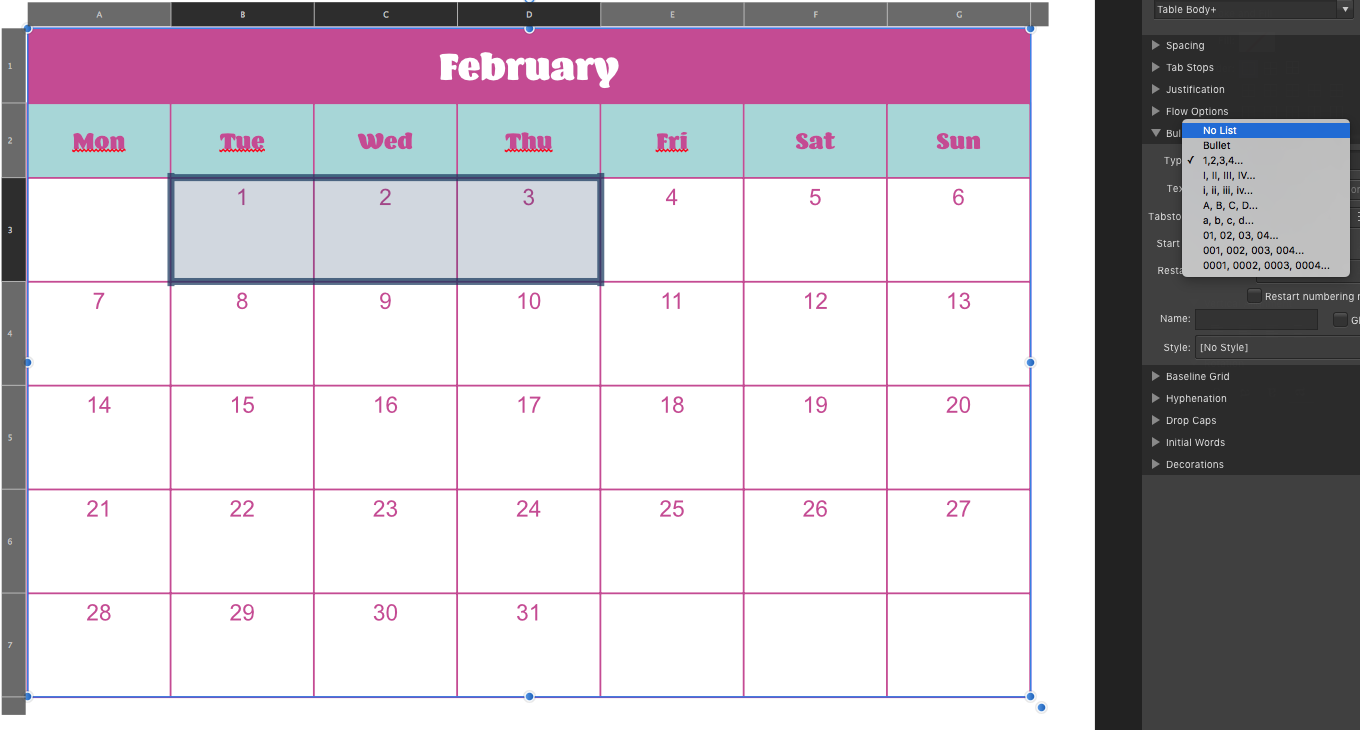
Select the entire 3rd row and go to View>Studio>Paragraph

Expand the Bullets and Numbering List!
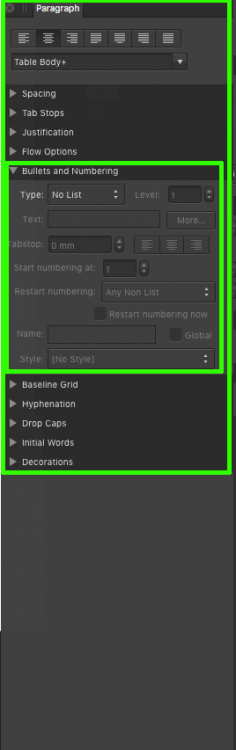
Choose 1. 2. 3. 4.
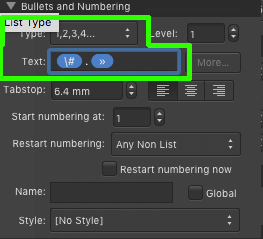
Change the text section to read as.
Note - when you edit this panel option - you need to hit Return - this shouldn't be the case - if you don't hit return your changes won't be implemented.
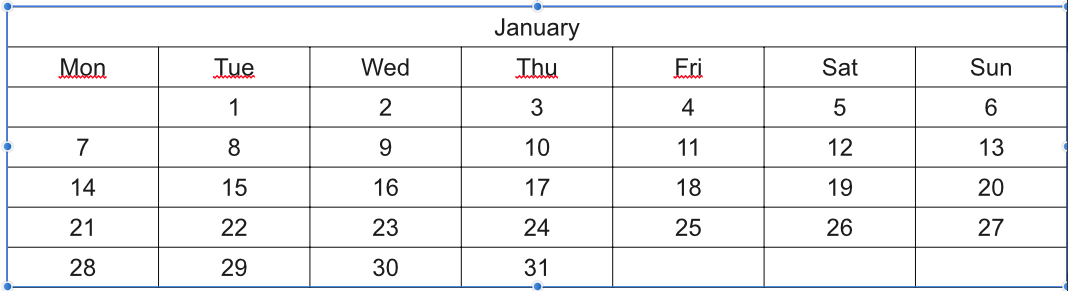
Your table should now look like this!

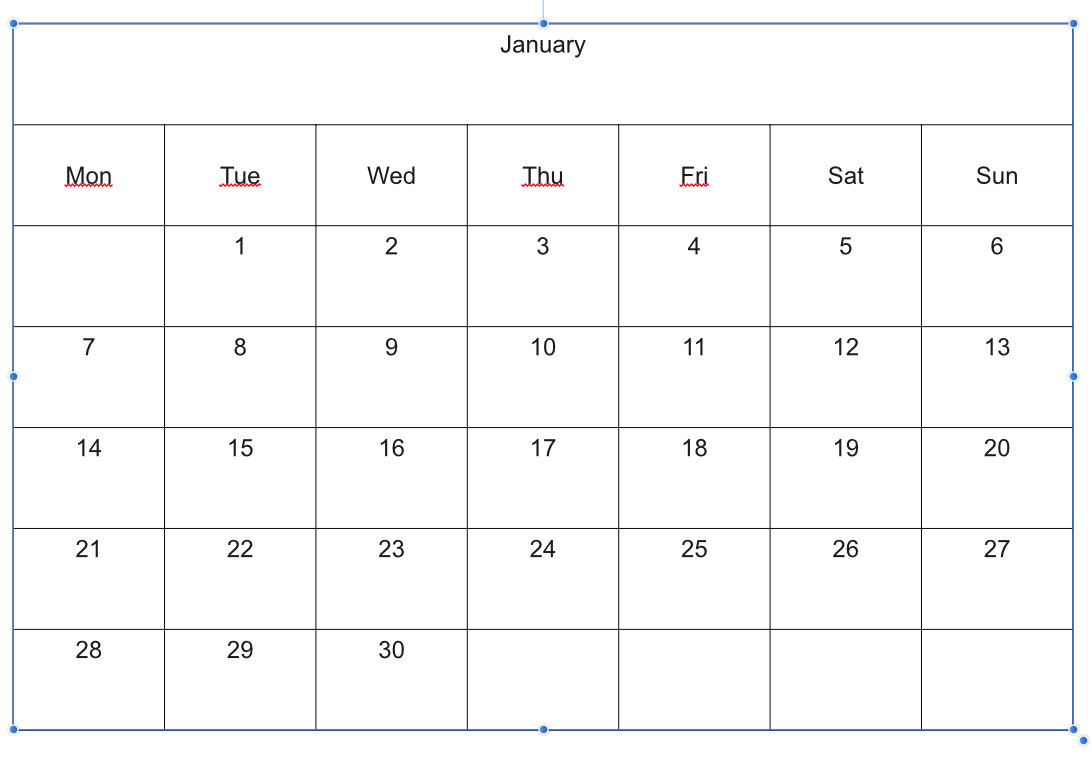
Grab the TAB as shown before - to expand the table to add more rows.
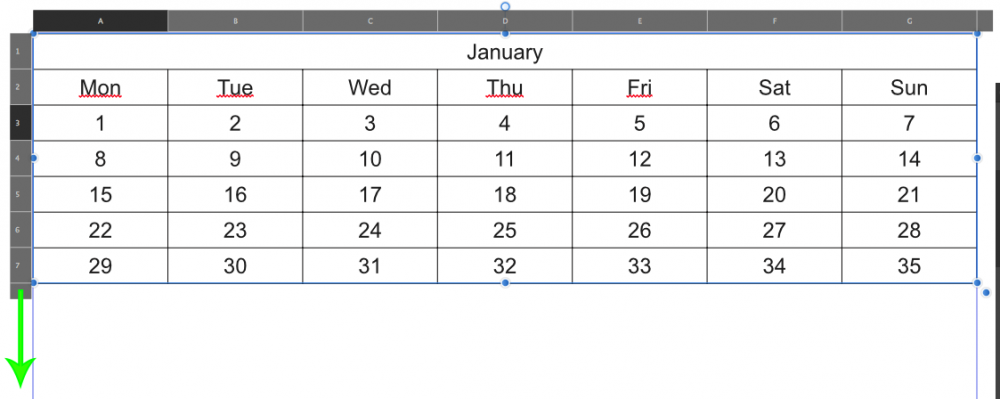
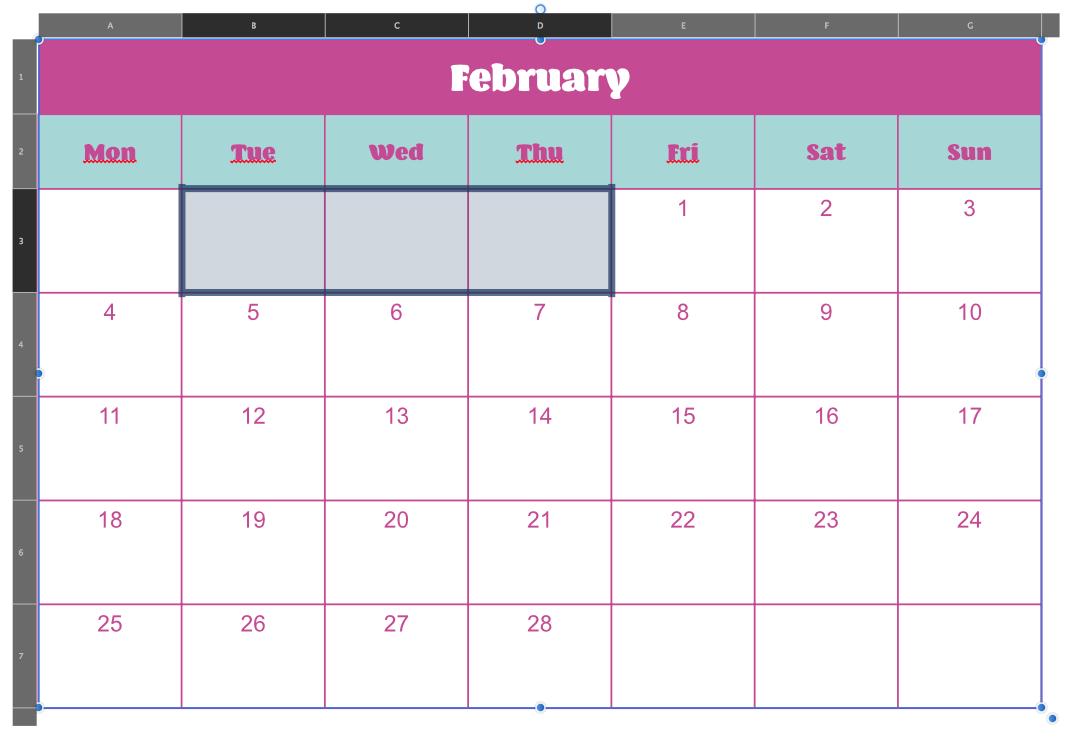
January 2019 starts on a Tuesday (any calendar will tell you that
)
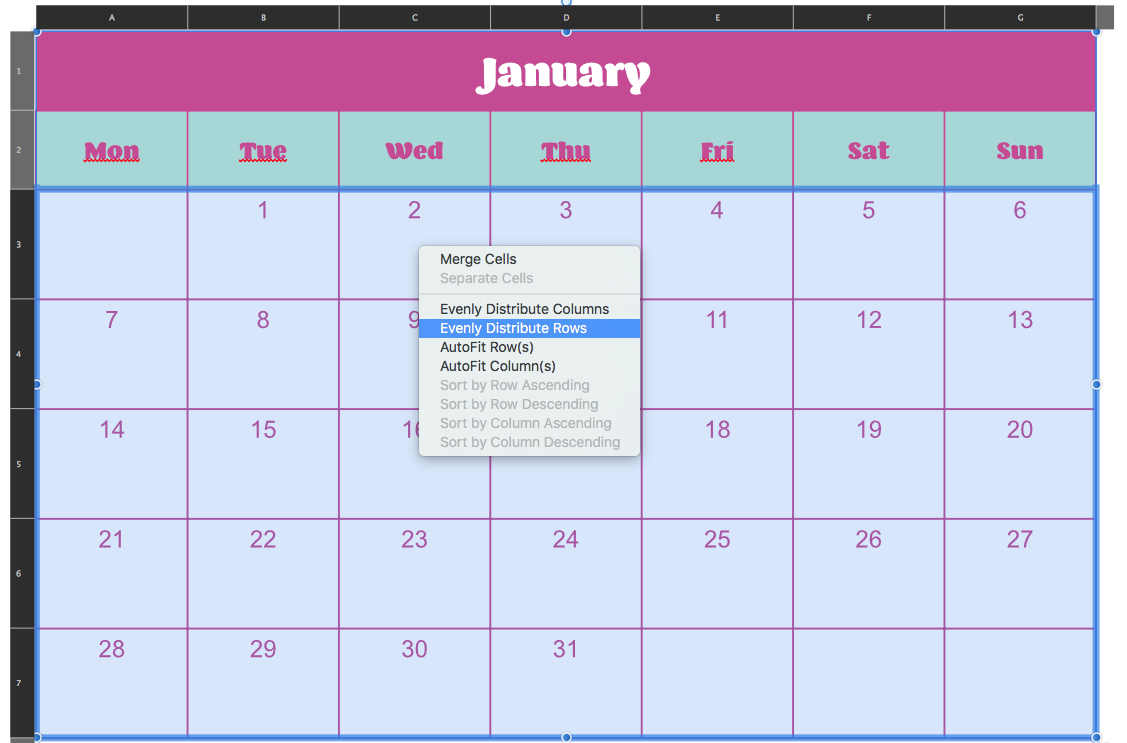
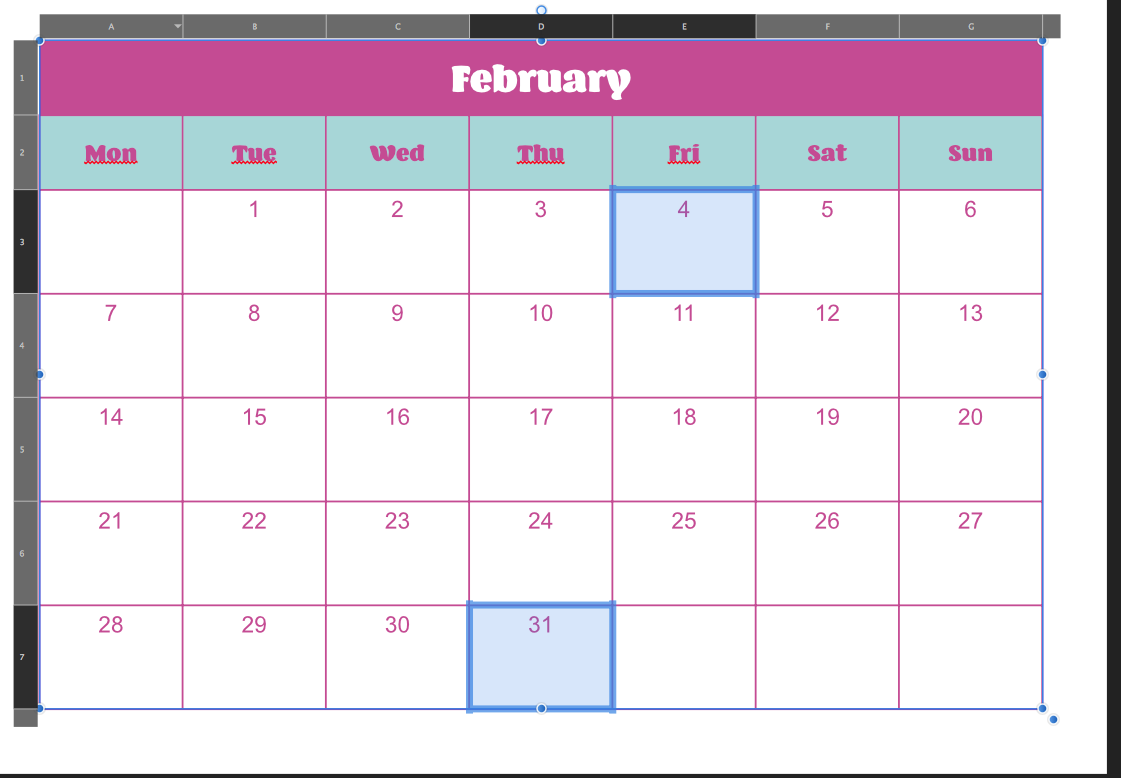
Cool feature! You can select cells noncontiguous - that means they don't have to be beside each other.
To do this - select the A3 cell - then let go of the mouse to leave it highlighted. Press the CMD key (possibly CTRL on PC) which is the "modifier key" then select the remaining cells.
From the List Type in the Paragraph Panel - you can then set this to NO LIST.
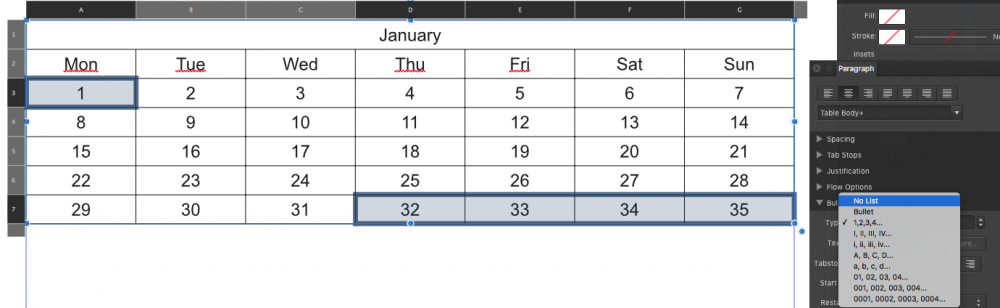
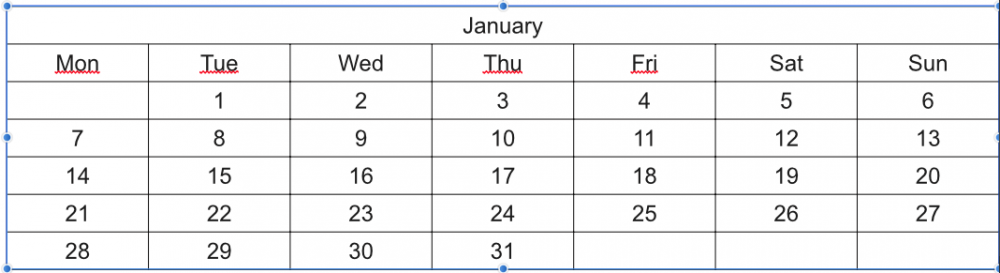
Your table will now automatically renumber to ensure all the days have the correct number assigned.
Firstly, dragging out a table is great! Select the Table icon in the tool bar, select the Snapping tool to get it to snap to the margins, and simply Drag Out the table - you will see it gives dimensions - rows and column counts too! Pretty cool!
There are only a few modifier keys available. A modifier key is when you are using the mouse to move/alter something and press a key on the keyboard to get it to behave a different way.
- Shift = constrains proportions
- CMD = sizes from the centre point where you clicked on the screen

For this calendar - I only want the First 3 rows to appear. Month - Days - Dates
I draw out the table and let go of the mouse and low and behold - I have 7 (that was lucky) columns and 3 rows, as I only dragged down that far.

The added feature that's pretty cool!
With the Table tool still selected - you can drag down the table from the tab as indicated. Or similarly - on the right hand side, grab the tab and drag to add more columns!
You can slide them up and down or left and rigth until you have the desired amount of columns or rows.
However, once you have made your decision - you cannot remove the rows/columns by dragging them back up. I presume this is to prevent deleting information accidentally, however, if the cells are empty I don't see why this can't be done
If you want to remove the column/row you can select it and right click and choose Delete Row
However if you have more than one row/column selected you cannot choose to Delete Rows!
 No option to Delete Rows
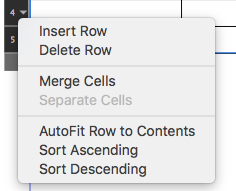
To delete more than one Row/Column you have to use the Table menu and choose "Delete Rows" or "Delete Columns"
Onto the calendar!
Select the top row and right click and choose Merge Cells
View>Studio>Table (I believe this menu and sub menus are subject to change)
Select your table and add some "Insets" so the text doesn't butt up against the cell wall - this is optional and you can adjust to how you like.
Very important to ensure you're on the CELLS portion - there is an option for the FRAME - which is above in the screenshot of the Table Panel, this is relating to the Frame the table sits in and not the Table Properties.
That's a bit confusing becuase you'd expect the Table options to the forefront of the options, however, not a major issue!
In fact it's all optional - I'm leaving mine plain because I want to show another feature.
Insert the Month top row - days on the 2nd row - and leave the 3rd row blank.
Select the entire 3rd row and go to View>Studio>Paragraph
Expand the Bullets and Numbering List!

Choose 1. 2. 3. 4.

Change the text section to read as.

Note - when you edit this panel option - you need to hit Return - this shouldn't be the case - if you don't hit return your changes won't be implemented.
Your table should now look like this!

Grab the TAB as shown before - to expand the table to add more rows.

January 2019 starts on a Tuesday (any calendar will tell you that
Cool feature! You can select cells noncontiguous - that means they don't have to be beside each other.
To do this - select the A3 cell - then let go of the mouse to leave it highlighted. Press the CMD key (possibly CTRL on PC) which is the "modifier key" then select the remaining cells.
From the List Type in the Paragraph Panel - you can then set this to NO LIST.

Your table will now automatically renumber to ensure all the days have the correct number assigned.